Appearance
CMS Setup
Sebora can push generated articles directly to your CMS as drafts. This page explains how to connect WordPress, Webflow, or Shopify.
WordPress
Prerequisites
- A self-hosted WordPress site (wordpress.org, not wordpress.com free tier)
- An Application Password (WordPress 5.6+)
Steps
- In WordPress, go to Users → Profile → Application Passwords
- Enter a name (e.g. "Sebora") and click Add New Application Password
- Copy the generated password — you won't see it again
- In Sebora, open your project and go to Settings → CMS Connection
- Select WordPress and enter:
- Site URL: your WordPress URL (e.g.
https://yourblog.com) - Username: your WordPress admin username
- Application Password: the password you just generated
- Site URL: your WordPress URL (e.g.
- Click Test Connection to verify
TIP
Application Passwords are separate from your login password. They can be revoked at any time from your WordPress profile without affecting your main login.
What happens when you publish
- Sebora creates a draft post in WordPress
- Title, content, and meta description are set automatically
- You review the draft in WordPress and hit Publish when ready
Webflow
Prerequisites
- A Webflow site with CMS collections enabled
- A Webflow API token with CMS write access
Steps
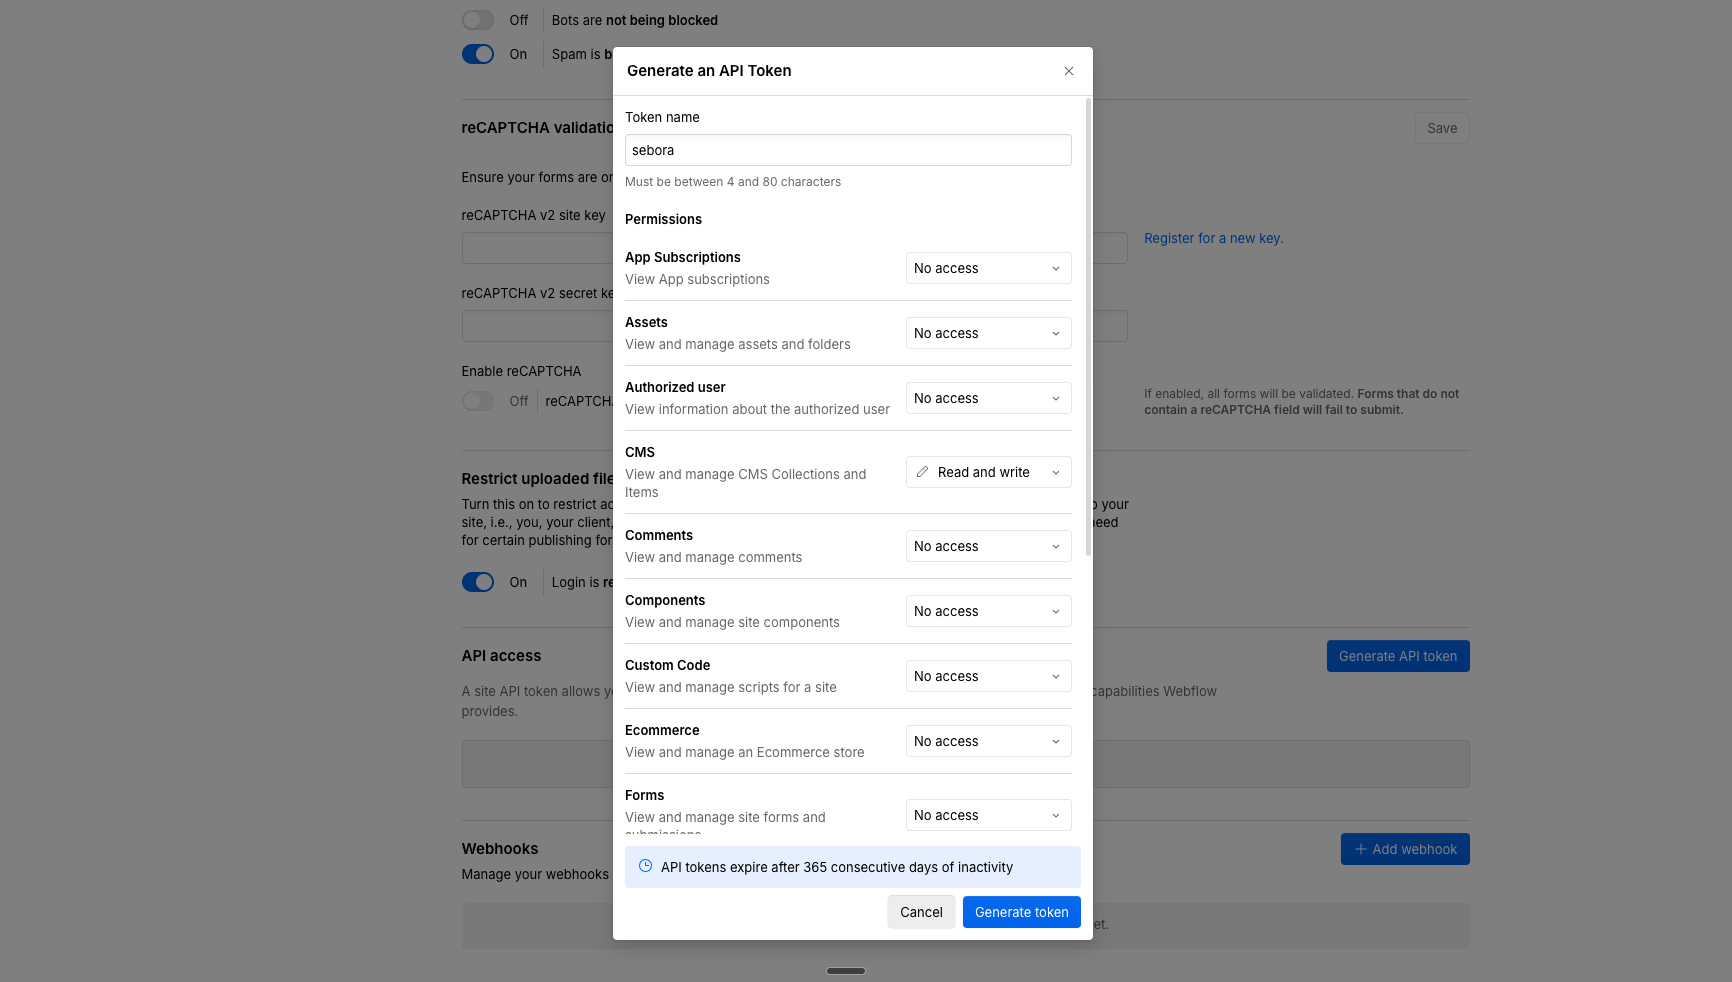
1. Generate an API Token
In Webflow, go to Site Settings → Apps & Integrations → API Access and click Generate API Token.
- Give it a name (e.g. "sebora")
- Under Permissions, set CMS to Read and write
- All other permissions can stay at "No access"
- Click Generate token and copy the token — you won't see it again
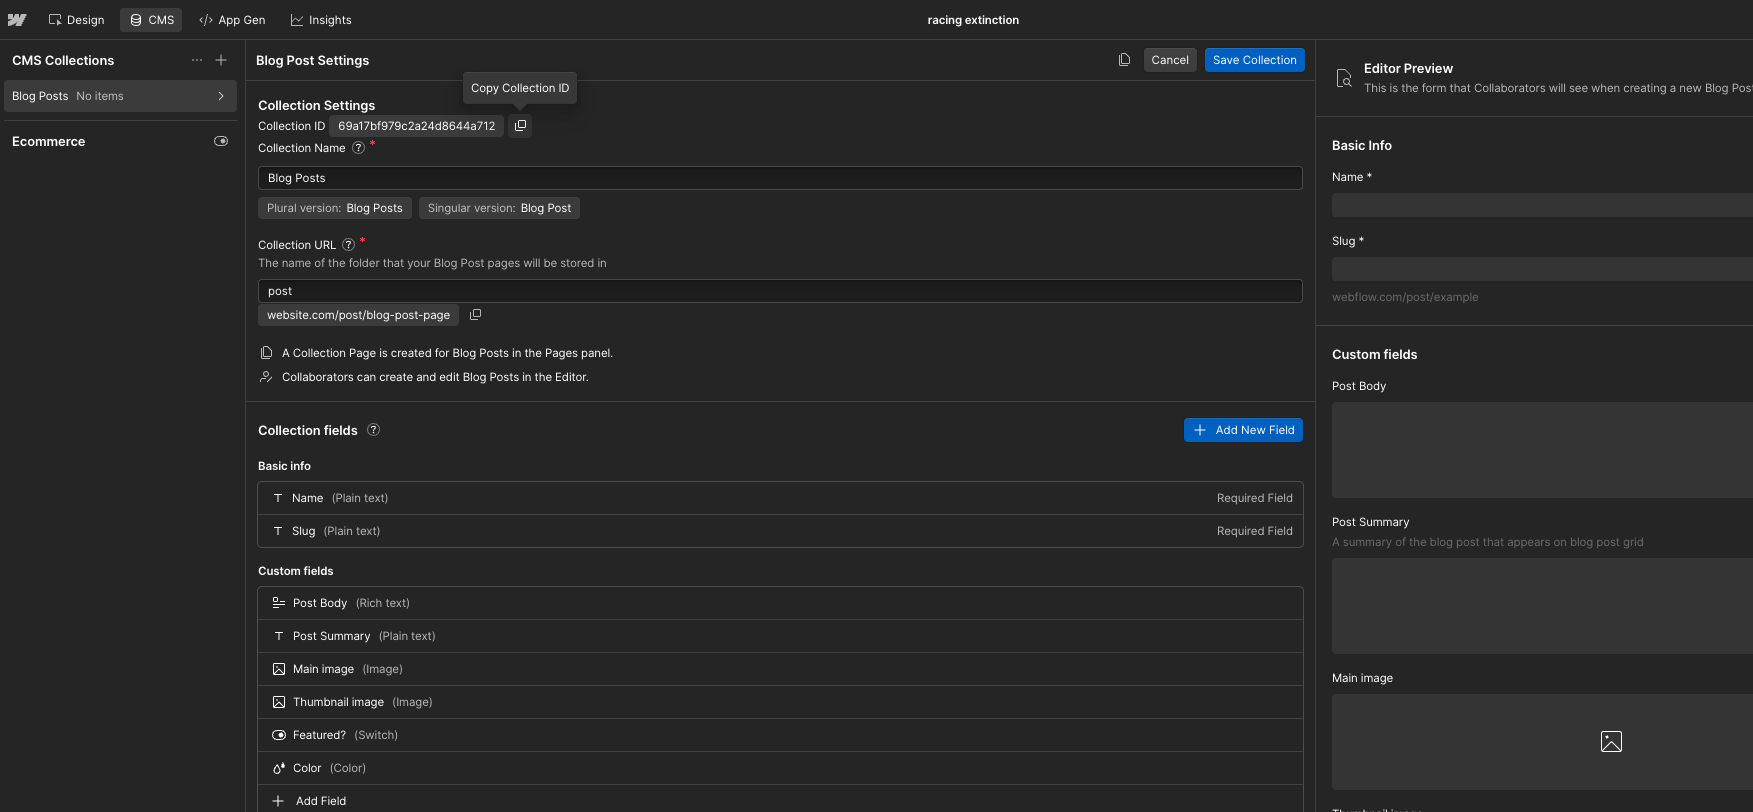
2. Find your Collection ID
In Webflow, go to the CMS tab in the top navigation bar, then open the settings of your Blog Posts collection (or whichever collection you want Sebora to publish to).
The Collection ID is displayed at the top of the Collection Settings panel. Click the copy icon next to it.
3. Connect in Sebora
- In Sebora, open your project and go to Settings → CMS Connection
- Select Webflow and enter:
- API Token: the token you generated in step 1
- Collection ID: the ID you copied in step 2
- Click Test Connection to verify
INFO
Sebora creates items in draft state. You'll need to publish them from the Webflow designer or editor.
Shopify
Prerequisites
- A Shopify store with the Blog feature enabled
- A Custom App with blog write permissions
Steps
- In Shopify Admin, go to Settings → Apps and sales channels → Develop apps
- Create a new app (e.g. "Sebora")
- Under Admin API scopes, enable
write_content(orread_content, write_content) - Install the app and copy the Admin API access token
- In Sebora, open your project and go to Settings → CMS Connection
- Select Shopify and enter:
- Store URL: your Shopify store URL (e.g.
yourstore.myshopify.com) - Access Token: the admin API access token
- Blog ID: the blog you want to publish to (find it in the Shopify URL when editing your blog)
- Store URL: your Shopify store URL (e.g.
- Click Test Connection to verify
What happens when you publish
- Sebora creates a draft blog post in Shopify
- Title, content, and excerpt are set
- Review and publish from your Shopify admin
Troubleshooting
Connection test fails
- Double-check your credentials — copy-paste to avoid typos
- Make sure your site is publicly accessible (not behind maintenance mode)
- For WordPress, ensure Application Passwords are enabled (some security plugins disable them)
Duplicate posts appearing
- This has been fixed. The publish button now shows a confirmation and prevents double-clicks
- If you still see duplicates, delete the extras from your CMS and try again
Articles appear without formatting
- Sebora sends HTML content. Most CMS platforms render it correctly
- If formatting looks off, check your CMS theme's blog post template
Need help?
If you're stuck, email [email protected] with your project URL and a description of the issue.